
I take my job (well, jobs – plural) very seriously, one of which is teaching cleaning tips online, and another, that you may or may not know, is running my own cleaning company. I started it in 2006 and over the years I’ve researched, studied, and practiced, to become a bit of a cleaning know-it-all.
I’ve LITERALLY trained hundreds of people on how to clean! Teaching them to clean quickly and effectively, and I love sharing all the pro tips and secrets that I’ve picked up along the way. So, grab some rubber gloves and buckle up, we’re going to review 7 of the best tips and tricks to clean like a pro!
Top To Bottom, Left To Right
The first tip is to clean from the top to the bottom, and from the left to the right. When I first started cleaning, I was going all over the place. I cleaned like the Tasmanian Devil, fast (sporadic) but not effective. It was kind of ludicrous. When I learned about the top to bottom, left to right technique and started implementing it, I really noticed a change.
The reason top to bottom works is because dust and dirt falls from the top to the bottom as you’re cleaning. So if you’re cleaning your kitchen, you wouldn’t want to clean your counter first only to clean your cupboard and then, have all the crumbs from the cupboard fall onto your clean counter. It’s what causes you to have to clean a surface twice. So always start at the top and work your way down.
Now, when it comes to working your way from left to right, or right to left, you pick! Just be consistent. This trick is effective because it stops you from missing spots or sections. Every corner and section of the room is going to be cleaned because you’re working in a consistent manner.
Dwell Time
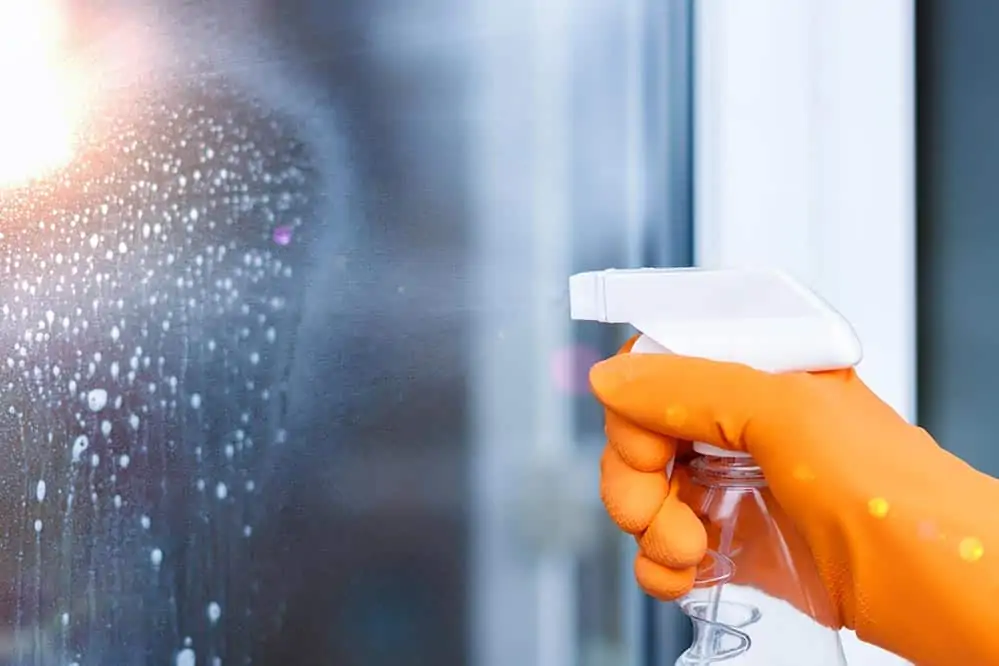
In so many TV commercials you seem them spray a product, and them instantly wipe it away, and the dirt is gone. When I see this I get incredibly frustrated, because the truth is, product has to rest to do its work! This is an important part of the cleaning process, it’s called “dwell time”, without it, the product won’t be as effective, or may not work at all.
Dwell time has two main purposes. The first one is for effective cleaning. Think of it like hair dye, you can’t dip your hair in dye and expect an instant transformation. Some products work in the same way, as in they need to soak and sit to actually make a difference, but the end result is very effective. This goes for DIY products as well as store-bought products.
The second purpose of dwell time is for effective disinfecting. If a product has a disinfecting property to it, the product’s going to need between five and ten minutes to actually kill that bacteria. If you’re using a disinfecting product, apply it, let it sit there for a few minutes, then wipe it off. That way, you’re getting the clean that you want and the disinfecting that you need.
Start Gentle
Start with the safest, most gentle product, and work your way up – only if you need to! This is especially prudent for people with children, pets, asthma or allergies. The truth is, your house is probably a lot less dirty than you think it is, and gentle products can often accomplish what you need. So, in many cases, you don’t need those super strong products. However, if you’re in a situation where, let’s say you have a really greasy surface or someone got sick on the bathroom floor, well, in that case, you probably do want to use the stronger more powerful product. However in most cases, the DIY recipes that we talk about or gentle, environmentally friendly products, are really efficient, effective and safe.
The Eye Level Test
When you have a business, you always have these defining moments where little things happen to you that will forever affect the future of your business. In my case, it was a phone call from an unhappy customer (I had personally cleaned her home). She told me her kitchen counter had some staining on it, and I thought – Excuse me? I cleaned that kitchen counter myself for like 10 minutes. What are you talking about? Now, of course I was polite on the phone, and went to her home to assess the problem. It turned out that the staining was occurring under her microwave, a place I had never thought to clean, but that you could see if you simply crouched down, and took a look at eye level. From that point on I implemented what I now call the “eye level test”.
After you clean a surface, crouch down to see it at eye level, and check to see if you missed anything – it allows you to see dirt much more easily! So, step up your cleaning game and implement the eye level test whenever you clean a horizontal surface!
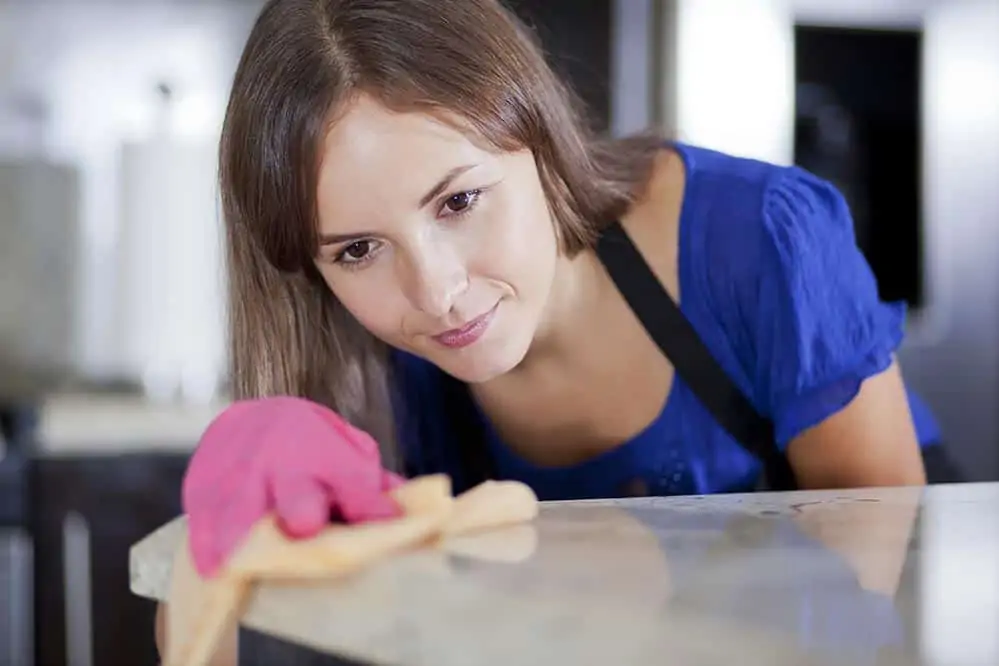
The “S” Pattern
And then, there’s the famous S pattern! When I first started cleaning, I would clean in circles, because that’s what I thought you were supposed to do. It’s how they always do it on TV! After a few months I learned that it’s not the most effective way to clean.
When you clean a surface in a circular motion, you’re simply picking up dirt, moving it around, and placing it down in the same, or a different location. You’re likely to miss sections, and you’ll end up working harder than you need to.
The S pattern can completely change your results when cleaning. You start at the top left-hand corner of a surface, you wipe all the way to the right and then, you zig-zag back slowly moving down at each turn – making an S! You’re guaranteed to get less streaks, and great results.
Have Everything With You
When I first started my cleaning company, I didn’t follow this rule, and spent a lot of time going back and forth from the kitchen to where ever I was cleaning in order to grab different cleaning tools. This is an obvious waste of time. Taking a moment to strategize your cleaning can save you tons of time in the end.
Before you clean a room, get all the cleaning tools you need and place them in the centre of the space you are cleaning, or better yet in a cleaning caddy. Now you can get down to cleaning more efficiently and effectively.
Parallel & Perpendicular
This is a trick that I learned from home stagers many years ago. When I first started in the cleaning game, I wasn’t sure how to make things look neat, and let’s be honest – half of cleaning is making something look tidy. Even if you’ve spent an hour cleaning something, it can still look messy if items are scattered about willy-nilly.
Instead, find your items, pile them up, (declutter if you have to!) and then line everything up to the edge of the surface that the item is sitting on, either parallel or perpendicular to the edge. This way you’ll have straight, clean lines, that are very pleasing to the eye and your cleaning job will have that professional finish!
Looking for a BETTER & EASIER Way to Clean Your Home?
Cleaning Expert Melissa Maker is here to help with her game-changing 3 Wave Cleaning System that will help you clean your house faster and easier than you ever thought possible!
GREAT ARTICLE
I am writing my blog on Cleaning Services and this blog helped me so much to improve my blog.
Fabulous post with useful information. I was searching this type of content for a while.
Excellent blog, thanks a lot for sharing this article have been looking since so long for this type information.
Excellent blog, thanks a lot for sharing this article have been looking since so long for this type information.
Thanks for reading 🙂
Do you have great pointers for Airbnbs? I want to test applicants before hiring and need to know they know the basics. Alot of people have exaggerated their experience and knowledge and I am getting frustrated after finding this out only 1 time on the job. Thank you soo much!
Thank you for sharing this amazing article on cleaning. These cleaning tips are very effective in keeping our home tidy always. Thanks again!
Very informative. I liked the way you structured the article. Learned some new way of cleaning. Thanks
Very informative. I liked the way you structured the article. Learned some new way of cleaning. Thanks
Thanks for sharing the tips! The S pattern is something new that I’ve never heard of before, excited to give it a try. When you mentioned about having all the cleaning items ready before starting the cleaning session, do you think it would be wise to have several buckets of cleaning tools for different areas within your home like my garage, kitchen, bedrooms, etc? Because ultimately I might need different cleaning tools depending on which room I’m cleaning.
These cleaning tips are very effective, and I can say these come from a very knowledged person.
Keep sharing.
We had vinyl laminate flooring installed throughout our condo last year. It has a beautiful wood grain appearance and made a great improvement to our home. However, the one problem I have not yet been able to solve (still working on it) are spots left behind by hair spray. I use the basic DIY cleaning solution of vinegar, water, Dawn, and essential oil. I have sprayed and let it sit. While the rest of the floor looks great, the spots remain. Any suggestions?
Usually rubbing alcohol removes hair spray spots.
I have a very specific problem (to do with cleaning the exterior of my refrigerator)….how can I send in my question including two photos I took of the issue?
It’s great to read. It’s teaching good about cleaning. Thanks for sharing.
Being a guy, I never had my mom teach me any ‘home ec’ stuff, like household cleaning. All I learned was how to scour pots and pans (my assigned chore) so I came to hate cleaning. You’ve inspired me to keep my house cleaner, get out some stains that had been present for years, and save money with DIY stuff that works and replaces store bought chemicals that make me gag and cough. So, thanks!