Contrary to what many people in the Clean My Space community believe, I am prone to making mistakes when it comes to cleaning. Yes, I am admitting that I am not perfect! When I first started my cleaning company I was forced to learn all about cleaning, and I quickly realized that I was making A LOT of cleaning mistakes. When I see people making the same mistakes I did, I feel obligated to pass on my experience so we can all spend less time cleaning and more time doing the things we love.
Spraying Product Directly on Surfaces
I completely understand why someone would do this; you’re trying to clean something, so you spray it with product and then wipe away the solution. While this does work on some surfaces, this is not always the safest (or most effective) way to clean. This is especially true when it comes to electronics (more on that later). When you’re cleaning any type of delicate surface always spray the cleaning product onto a microfibre cloth, wipe the surface that needs cleaning, then use a dry cloth to wipe away any excess liquid. For many surfaces, like any sort of electronic screens (phone, tv, laptop), porcelain, soft surface (car seats, vinyl) and wood it is always a best practice to use this method. It will use less product, still get the job done, and keep the surface safe.
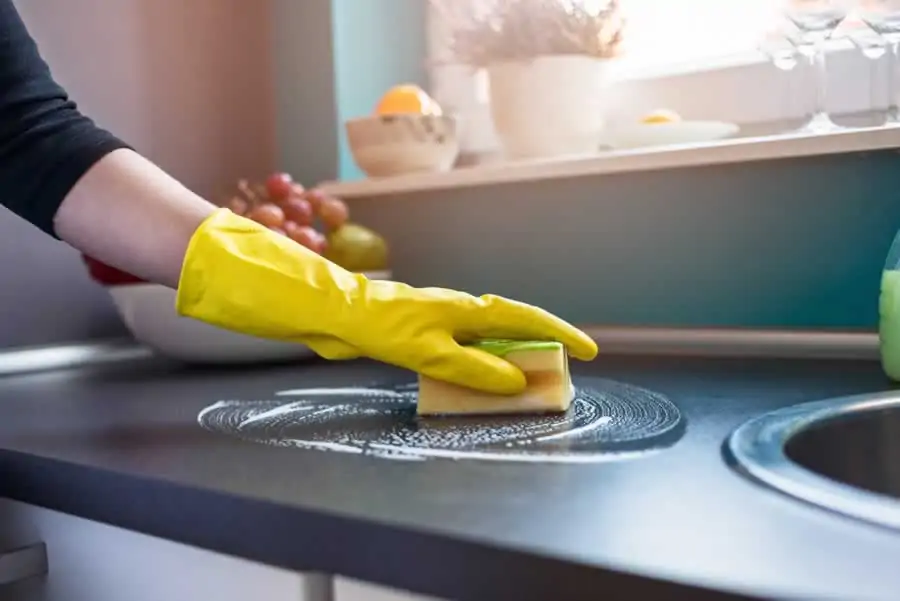
Not Cleaning Your Sponge!
I want you to stop and think for a minute about the things that your sponge has cleaned just this week. Now think back to the last time you cleaned that sponge. I bet it was a while ago… if ever! Many of us forget that just like everything else in our kitchen, our sponges need a good cleaning too or else they turn into a breeding ground for bacteria, become stinky, and then spread that stink and germs onto whatever you clean with it. Gross! Luckily, cleaning your sponge is easy—you can throw it in the dishwasher, put it in a bowl of water and microwave it (unless it’s plastic!), or even simply add it to boiling water. Just make sure you do this at least once a week and replace your sponge as soon as it discolors or remains grotty after cleaning.
Cleaning Too Quickly
Yes, we all want to get our cleaning over and done with so we can do something else (anything else in most cases!), but when you rush through your cleaning you’re creating more work for yourself in the long run, and this ultimately equates to more time spent cleaning. When we rush we miss spots, do things incorrectly, and likely just move dirt around. So take your time! If you find yourself short on time pick one thing and do it really well then come back later and do another thing with the same focus and attention to detail. Continue this cycle until all the cleaning is done.
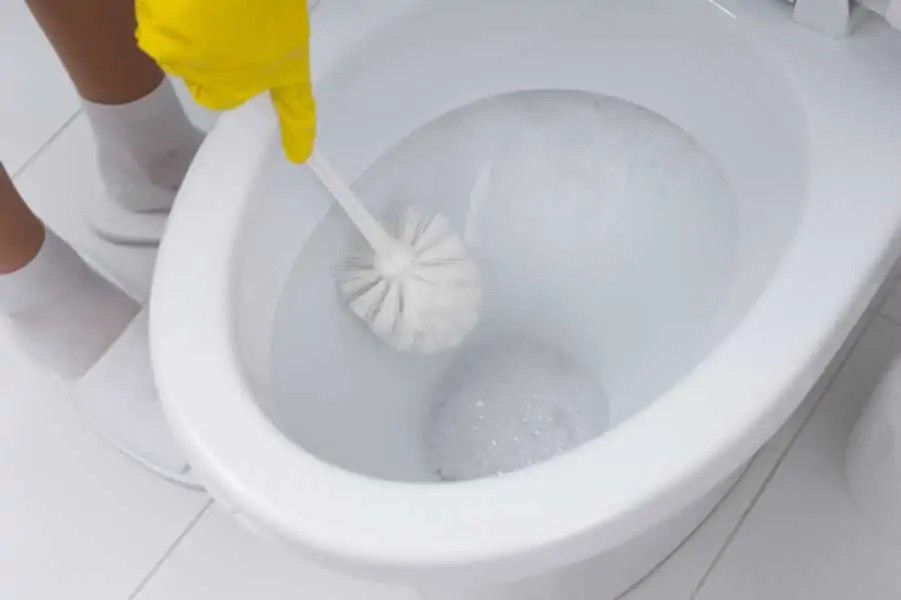
Putting Away a Wet Toilet Brush
Just like your sponge, your toilet brush has a nasty job to do and picks up some not so pleasant germs along the way. So be nice to your toilet brush—it’s doing your dirty work after all—and free it from becoming a playground for bacteria by giving it a good rinse in clean water and then leaving it to dry for at least 15 minutes before putting it away. If you haven’t seen my handy trick for letting your toilet brush dry, make sure you check out my toilet cleaning video!
Not Reading Directions
We’ve all been cleaning for years and we think we know how products work. However, I bet if you read the labels of some of your everyday cleaners you’d be surprised to find that you’re not using them as directed! A lot of time, money, and research went into developing the products we clean with. In that process, the developers found the best way to use the product, and they put those directions right on the bottle for us to use. Some cleaners need more time to work, some only work on certain surfaces, some will harm certain surfaces, and so on and so forth. So, to get the most out of your cleaners (and your money), and not ruin anything in your home, take a few minutes and read the directions.
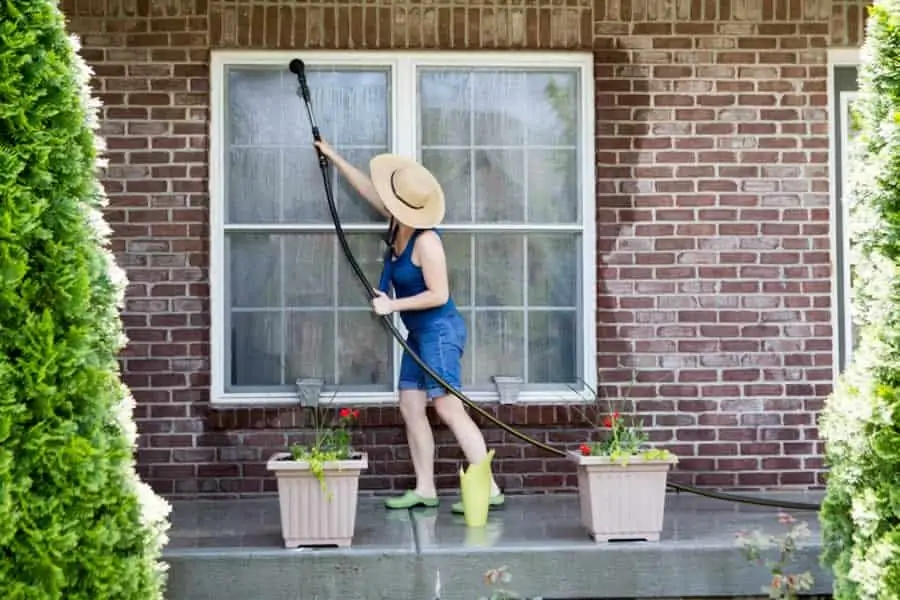
Wash Windows On A Sunny Day
I know you’ve heard me talk about cleaning windows before (we have a few window cleaning videos), so I’m sure this comes as no surprise when I tell you—don’t clean your windows on a beautiful sunny day. You may think this is counterintuitive since you have to be outside to clean your exterior windows, and what better day to do it then on a nice sunny day? Well, the problem is that the sun heats up the windows and you’ll likely end up with streaky windows as the water and soap dry before you can properly squeegee them. So, wait for an overcast day, clean them thoroughly, and then on the next sunny day, you can admire your beautiful work!
Cleaning in A Buffing Motion
I am sure you have heard me talk about this one before but I ‘m going to be a broken record and repeat myself again—do not clean in a circular buffing motion! While great for actually buffing a surface, when you do this while cleaning all you’re doing is moving the dirt from one area to the next. When you clean in an “S” pattern (left to right, slowly moving down the surface) you’re actually moving the dirt away and end up with a clean surface. Trust me on this one!
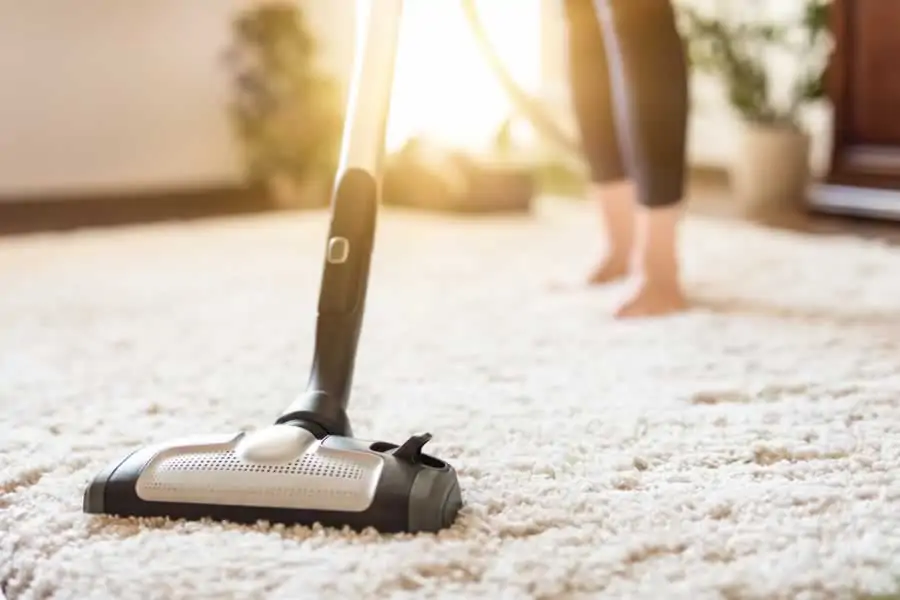
Not Emptying the Vacuum
Have you ever been vacuuming and noticed a weird smell? No, it’s not your gym shoes, it’s your vacuum! If your vacuum is releasing any odors, or just doesn’t seem to be picking up debris like you know it should, the problem is generally pretty simple—your vacuum is full! When the vacuum bag or canister gets full it restricts airflow and doesn’t allow your vacuum to do the job it’s supposed to do. When airflow is restricted the dirt and debris has nowhere to go and it severely impacts the performance of the vacuum. So, before you start vacuuming check and make sure it’s mostly empty, and make it a habit to empty it out after every 2 or 3 cleanings. Also, be sure to clean your vacuum on a regular basis.
More Is Not Better
Just like reading the directions, we have to remember that our cleaners were created to get a job done and get it done well. Therefore, most of the time you don’t need very much product to get the job done. You’ll also create more work for yourself if you saturate what you’re cleaning with a product because it’s going to be a pain to remove it all without leaving any behind—think streaks, haze, and sticky surfaces. Add a little at a time and you’ll be surprised how well a product works using smaller amounts.
Using Cleaning Products On Electronics
I told you we’d talk about this later! Cleaners and electronics do not mix! So please, refer to rule #1 and do not spray anything onto electronics. You can generally use a very little bit of water on a flat weave microfiber cloth to get these clean. If you need to disinfect use our DIY screen cleaner and follow the directions closely!
Looking for a BETTER & EASIER Way to Clean Your Home?
Cleaning Expert Melissa Maker is here to help with her game-changing 3 Wave Cleaning System that will help you clean your house faster and easier than you ever thought possible!







Thanks for the tip that the weather is a huge factor to consider when planning to clean windows. A friend of mine is thinking about opening a bookstore someday and the commercial space he is eyeing for have huge windows where a lot of the things he will be selling can be displayed. Maybe investing a good amount of money in commercial window cleaning will help him have those windows clean and clear at all time.
Just cleaned monitor screen for PC using electronic cleaner and soft cloth. Opening PC I find several vertical lines…several colors. I have re-cleaned carefully, twice. Did Shutdown, just for drill. Lines are still there. My logic tells me it correlates to the ‘cleaning’. Advice accepted !!
I hate cleaning behind the washer and the dryer. Yuck. Spiders love this space, and they love to die there too!!! Our washer and dryer is not built-in, so it is always needing to be done. I love your channel and all the help over the years you have been to me. Cheers to you all.
You have to get rid of the rust by scrubbing but once you do that just pre-season they are extremely durable. I fill mine after cooking with water past the ick line and heat it so I can scrape it off with a plastic scraper. I have had one from Pampered Chef for over 20 years. A good plastic scrub brush works well too I use the OXO one with the soap wand because it is very strong I just don’t put soap in it.
I HATE mopping! I procrastinate when it comes to mopping. A video on procrastination? 🙁
What directions do you have for shower tile? Purchased spray cleaning products actually do not say. I use your DIY vinegar recipe – when do I apply? Before or after shower? To dry walls or wet?
Do what is convenient for you! After the shower is good because everything has been loosened up from the heat but if that time is not ideal then do it when you can. Walls shouldn’t be too wet or the product won’t stick.
Shower doors once you get the scum off. Clean with rainex then use a squeegee after each shower. Once lasts a long time. EASY.
I hate cleaning bottom cabinet insides, any quick ideas
Line them with a drawer liner and then just remove the liner, wipe down and put back.
I live in Georgia, if I waited for a not sunny day, especially now that we are moving into spring/summer….my windows would be clean! I mean seriously, we don’t have that luxury here lol.
Would never be clean, dangit!
Love it, Still need to know where you got that awesome Shower curtain!!?????
Thanks for those 10 tips. Can you tell me the best way to clean those burner coils on top of an electric stove? THX
I need help in trying to clean my shower door. What is the best way to get the soap scum off of the glass? I’ve tried everything, I think.
If you squeegee the glass of after every shower spa scum won’t build up.
I hate. Leaning the toilet
My hate job is the oven, my other half won’t cover anything,he cranks the oven up on high and splatters stuff everywhere. I dread opening the door for fear of what I’ll find. Help please.
It’s funny how watching one video on how to clean a hot tub got me to your videos. I’m glad it did. I have a small (I’m the only employee) house cleaning business, and love finding new ways to save time cleaning. Thank you! Love your video!
These are really helpful reminders, especially when rushing. Thanks for sharing
I have to use water on my computer screen cuz it gets fingerprints on it. I know it shouldn’t but……I do spray a rag instead of the screen Thank you!!